Regional Refresher 2020

The Video Workflow for the Regional Refresher Series by Muhammad Amir Ayub

I’ve described the audio engineering challenges and processes related to the Regional Refresher Workshop here, here, and here. Now I’d like to describe the videography processes used.

It was very simple actually. I first used the original slides and reformatted the presentations for widescreen, then exported the presentation as JPEG’s, which I then inserted into the project one by one, with the duration adjusted as necessary. Then I inserted simple transitions in between and at the beginning and end of the presentation. If a pointer was needed, I’d insert a simple one via Generators -> Shapes. If a highlighting of an image was needed, I’d use some simple masking and transparency effects:

Screenshot 2020-08-21 at 6.24.02 AM.png

If a presentation included video of a particular scan, I copied out the video within the presentation and inserted it into the project to be played full screen for the best clarity.

Project settings: I forgot to alter these in the beginning, but set it later to 1080p, 30 fps; 24 would also do actually in retrospect. The original video recording was in 50 fps and overkill; setting the minimum fps would cut down exporting time on this soon to be expired machine.

There was actual video shot on camera, and in the small available room was focused on the projected slides. But there were many problems with it.

Firstly, the positioning of it led to some of the audience’s heads being in between the camera and the screen. Secondly there was constant changes in the focus and white balance. Thirdly, the best camera setup can’t achieve the same sharpness as the slides being displayed directly.

Then you might be thinking why record at all? Actually there are excellent reasons to be recording video even if the footage is unused. Number 1, the audio recorded with the video was used to synchronize the dedicated audio. Another reason is that I used the footage to guide the placement of slides as well as the duration and use of pointing/highlighting (especially from the mouse movement seen on screen). Those reasons alone made video recording indispensable.

Let’s see if there’s a way of improvising further moving forward. Till then, don’t forget to watch the upcoming webinar on Regional Anaesthesia for the Chest today at 10 am KL time. This will be the live YouTube link; later on I might do some trimming into smaller chunks for easier consumption. The A/V company set-up is making us anticipate a good presentation.

Regional Anaesthesia Refresher 2020: Back to Basics - Lower Limb Blocks by Muhammad Amir Ayub

If you came here just for the video, do take note that the audio is not so good until the 1:13 mark. Here you go:

The audio gets better after minute 1:13. Delivered by Dr Fakhzan. If you enjoy these videos, do show your support by subscribing to this channel.

Read on if you’re interested in the production.

Producing this video made me cry and took a piece of my life. First, the designated audio recorder started a bit late; using the DSLR camera mic is never truly ideal even in the best of times due to the distance from the speaker. But to make things worse, there was a huge amount of noise that I’m not really sure where it’s from (computer/projector fan? Air conditioning?). So the voice on the beginning when it’s all said and done is still not good after editing. Luckily after about 2 minutes the audio is much bettter, but only after removing the noise.

With previous edits, the noise was relatively much easier as it hovered around a single frequency. But not this one:

Pure noise in the first part…

Pure noise in the first part…

…And the second part

…And the second part from the designated recorder

With the previous videos, the noise hovered around a single frequency, which made editing relatively easy by attenuating the specific narrow frequency range without sacrificing too much of the speaker’s voice. But here, the noise was present throughout the frequency range, whether it was the lows/mids/highs. I tried everything with a combination of EQ, compression, noise gating, denoising to no avail. I was about to give up altogether after spending at least 12 hours of total precious time.

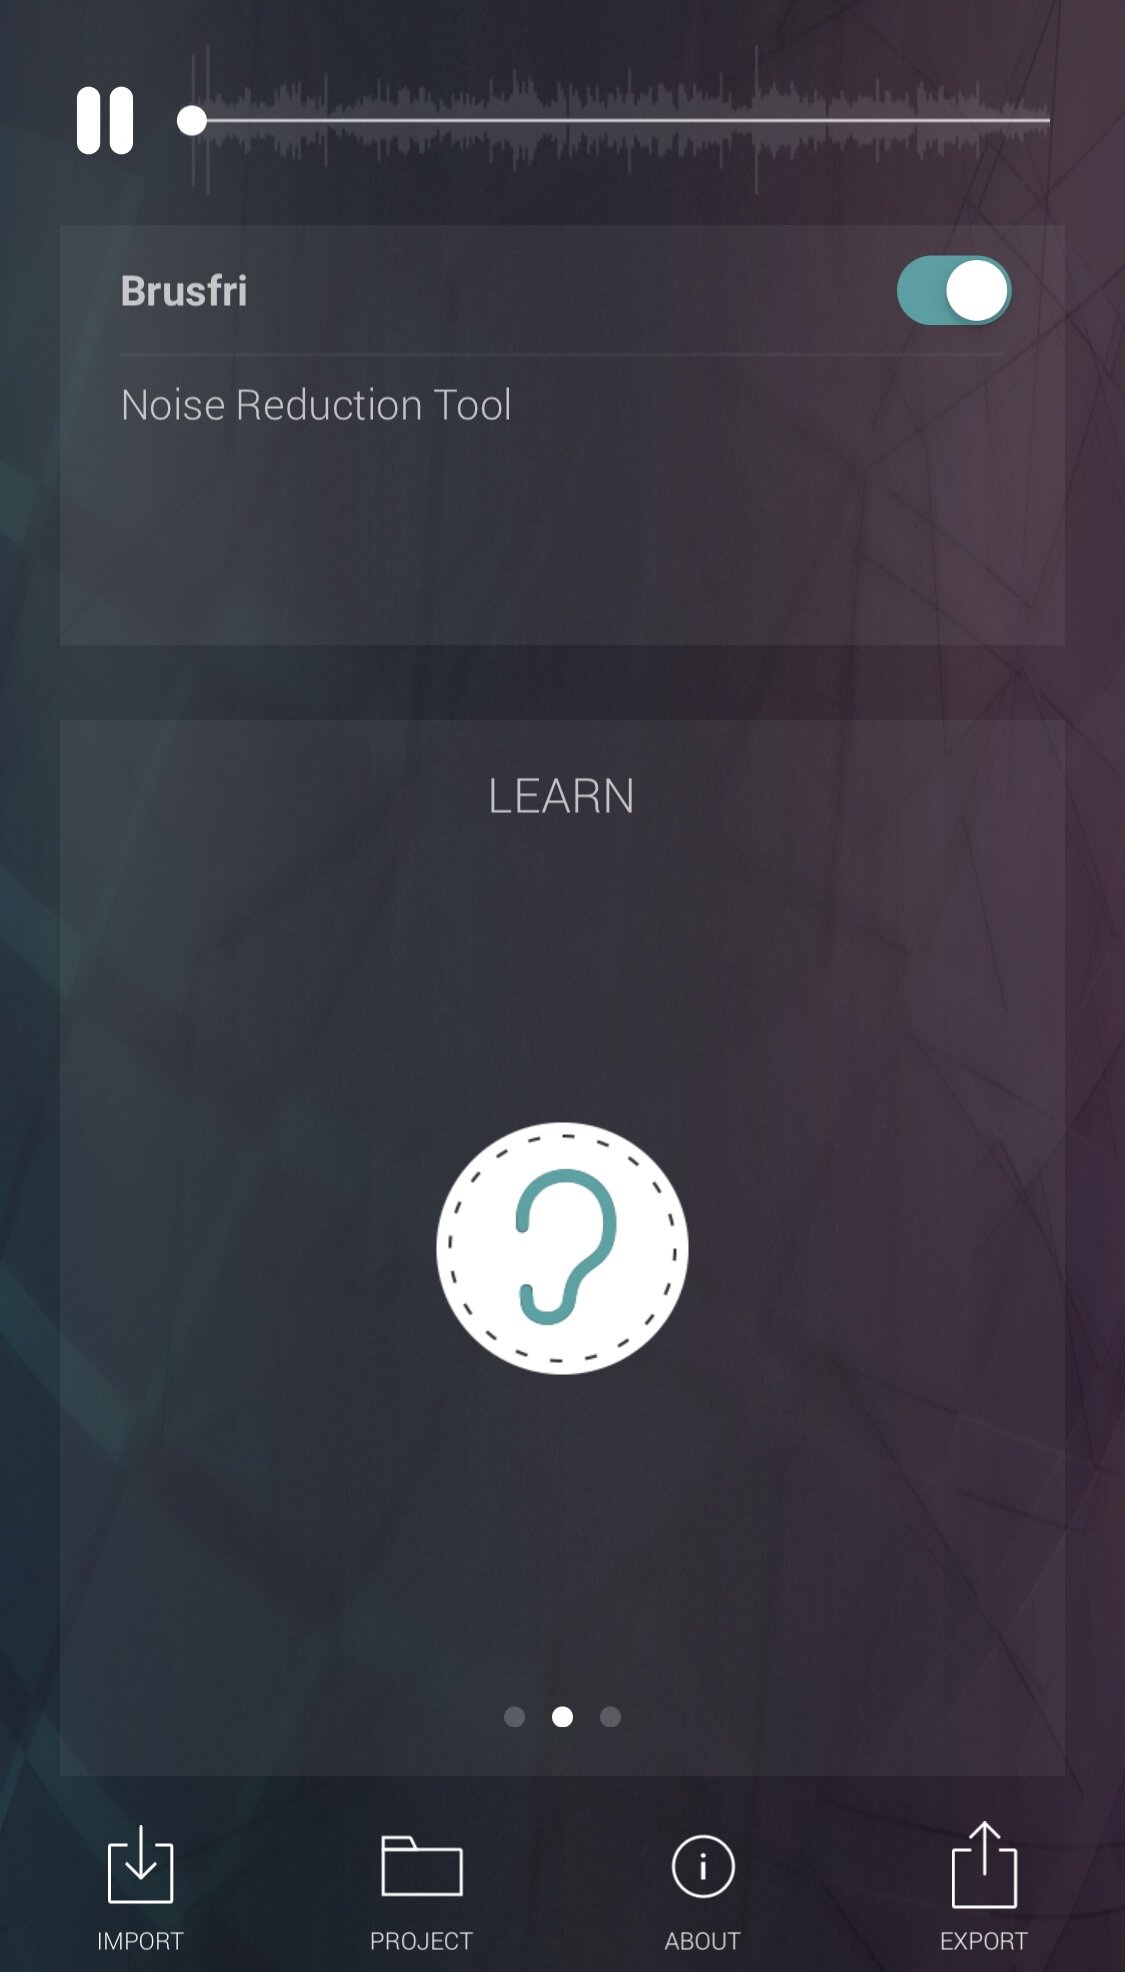
…Until I came across Brusfri, an app by Klevgrand that allegedly can denoise without degrading the original track. There’s 2 versions: $14.99 for iOS and $59.90 for macOS/Windows. To use it, you “select” the portion of the tract with noise and let the app do its magic. I bought the iOS version (which isn’t that cheap over here) that comes with a significant drawback: you can’t really select the range where the noise is. You have to listen to the track then press the learn button to have the app listen to only the part with the noise but not the speech. Once the app has learned the noise pattern, you would notice that the waveform would change and can be played back with noise reduction on or off. You can also do some fine tuning with the noise reduction.

While the track is playing, press and hold the listen “ear” button to have the app analyze the noise…

While the track is playing, press and hold the listen “ear” button to have the app analyze the noise…

…Until you release the button

…Until you release the button

Now you may toggle to hear the track with the noise reduction present/absent…

Now you may toggle to hear the track with the noise reduction present/absent…

…Or have it listen again if you think you got the noisy part of the track wrong (noise only with no voice/instruments playing)

…Or have it listen again if you think you got the noisy part of the track wrong (noise only with no voice/instruments playing)

A multitudes of options (swipe left or right) to fine tune the noise reduction; adjust by dragging the corresponding line

A multitudes of options (swipe left or right) to fine tune the noise reduction; adjust by dragging the corresponding line

IMG_4499.jpeg
IMG_4500.jpeg
IMG_4504.jpeg
IMG_4505.jpeg
HPF: High pass filter

HPF: High pass filter

This was truly a lifesaver when it came to the humble recording via Voice Memos on an iPhone. From this:

…To this:

Unfortunately it could not greatly improve the inherently not so great voice recording on the beginning of the tract, even with further effects done afterwards.

Before:

And after:

These were the further edits to both tracks after removing the noise:

The first minute

The first minute

The rest of the video

The rest of the video

There was certainly a need for highlighting with this presentation, more so than the one preceding it. To save time, I used simple arrows and highlighting via masking to get the desired effects.

The big lesson here is to get the recordings right the first time, as repairing things in post can be either difficult (or expensive). When pro’s say that listening to bad audio is fatiguing to listen to, they are definitely correct and I can attest to that. Maybe in the future I might explain why as regards to the video, it has simply been mostly still pictures with barely any true video. All in all I probably spent at least 18 hours just to produce this (due to the troubles with the audio) and that’s not productive enough. Hopefully noise is no longer a big problem in the future.

Regional Anaesthesia Refresher 2020: Back to Basics - Upper Limb, Vascular Access, Scalp Block by Muhammad Amir Ayub

If you came here just to see the video, here you go:

Delivered by Dr Nabilah. If you enjoy these videos, do show your support by subscribing to this channel.

But if you want to know more about the process I used and the relative difficulty in producing this, read on. As regards to the overall process and what I’ve learned so far (and what I got wrong) will be disclosed in another post. This will generally only talk on the final settings and edits.

To start, this is the audio source I’ve been working with:

Not great at all. The loudspeaker really effed it up to put it mildly, especially within the confines of the small CME room, and made the speaker’s voice sound not too natural. Added to that was the problem of feedback. Recording using just voice memos on an iPhone wasn’t a problem in general. It was just the acoustics of the source.

But the audio was certainly clipping as seen in the levels here:

Levels were quite high with clipping in the beginning, then lower down (as the loudspeaker stopped working) with no more clipping

Levels were quite high with clipping in the beginning, then lower down (as the loudspeaker stopped working) with no more clipping

In the end the audio was broken up into a few parts that I edited separately:

  1. The early part of the talk where the speaker was talking with the mic

  2. The latter part of the talk where the audio actually improved once the loudspeaker stopped working

  3. Significant audio from the audience

Only the second part was easy to edit. There was some hum at the low frequencies which I attenuated, and left the rest untouched via channel EQ on Final Cut Pro X. As regards to compression, I used one of the presets then turned on the limiter at -6 dB and further reduced the output to -6dB, getting the track down to peak at -12 dB.

Settings (EQ) of the 2nd part of the audio track

Settings (EQ) of the 2nd part of the audio track

Settings (compressor) of the 2nd part of the audio track

Settings (compressor) of the 2nd part of the audio track

As regards to the first part, the editing was much more difficult. I’m not sure how much more improvement I could get, but I got approval from my audiologist wife (who has some interest in audio engineering but hates music), who definitely noticed the improved clarity versus the original track. I think it’s pretty clear that despite edits, the first part (at least to me) won’t sound better than the second part. But at least it’s now clear.

With the first part, editing the EQ included attenuating both the low and high frequencies, in contrast to the second part which only required attenuation of the low frequencies to remove the hum. To my ears the loudspeaker made the voice sound a bit tinny when the hum was attenuated; hence the need for the high frequencies to be attenuated too.

Settings (EQ) of the 1st part of the audio track

Settings (EQ) of the 1st part of the audio track

Settings (compressor) of the 1st part of the audio track

Settings (compressor) of the 1st part of the audio track

I wasn’t so exacting with the 3rd part; you can only do so much from audio far away and at the opposite trend in audio levels, too low. Bringing the audience’s voices up also brought along noise. So I only edited those that were personally deemed more important in the flow of the presentation or Q&A. In the edits I did feel that the voices were heard “just enough” to make out the flow.

Some low frequency attenuation to remove the hum, and more pronounced attenuation at the higher frequencies to reduce the tinniness of the audience’s voices once the levels were brought up. And since the audience’s voices were low to begin with, the…

Some low frequency attenuation to remove the hum, and more pronounced attenuation at the higher frequencies to reduce the tinniness of the audience’s voices once the levels were brought up. And since the audience’s voices were low to begin with, there was a lot more attenuation needed once the output signal was pushed up.

Corresponding compressor settings

Corresponding compressor settings

I do feel that the edits done were meaningful and brought the levels close together. You may have to turn up the speakers a bit, but that is much better than having the audio signals clip and distort. See how the levels more or less stay the same after the edits.

Screenshot 2020-08-12 at 12.06.45 AM.png

I felt that the amount of feedback wasn’t too bad in the end, and I needed to look up how to deal with it in a free manner anyways; I didn’t feel that the effort needed to fix it would be worth it at this time. One interesting thing was that I used the same compressor settings throughout the whole video, with only changes in the output gain to keep the audience’s voices louder & peak at -12 dB.

As regards to the video component, this presentation had a greater need for pointers to make the presentation clear. Me being a novice decided using simple arrows will do. This presentation also had some ultrasound videos, which I decided to be displayed full screen. I’ve no idea if color correction is needed as I used just the presentation slides to make the video (as my laptop is nearing the end of its “useful life”).

Do tell me how you feel about the differences in the voices after the edits. After all, this is all self-learned (but certainly an interest of mine).