If you came here just for the video, do take note that the audio is not so good until the 1:13 mark. Here you go:
Read on if you’re interested in the production.
Producing this video made me cry and took a piece of my life. First, the designated audio recorder started a bit late; using the DSLR camera mic is never truly ideal even in the best of times due to the distance from the speaker. But to make things worse, there was a huge amount of noise that I’m not really sure where it’s from (computer/projector fan? Air conditioning?). So the voice on the beginning when it’s all said and done is still not good after editing. Luckily after about 2 minutes the audio is much bettter, but only after removing the noise.
With previous edits, the noise was relatively much easier as it hovered around a single frequency. But not this one:
Pure noise in the first part…
…And the second part from the designated recorder
With the previous videos, the noise hovered around a single frequency, which made editing relatively easy by attenuating the specific narrow frequency range without sacrificing too much of the speaker’s voice. But here, the noise was present throughout the frequency range, whether it was the lows/mids/highs. I tried everything with a combination of EQ, compression, noise gating, denoising to no avail. I was about to give up altogether after spending at least 12 hours of total precious time.
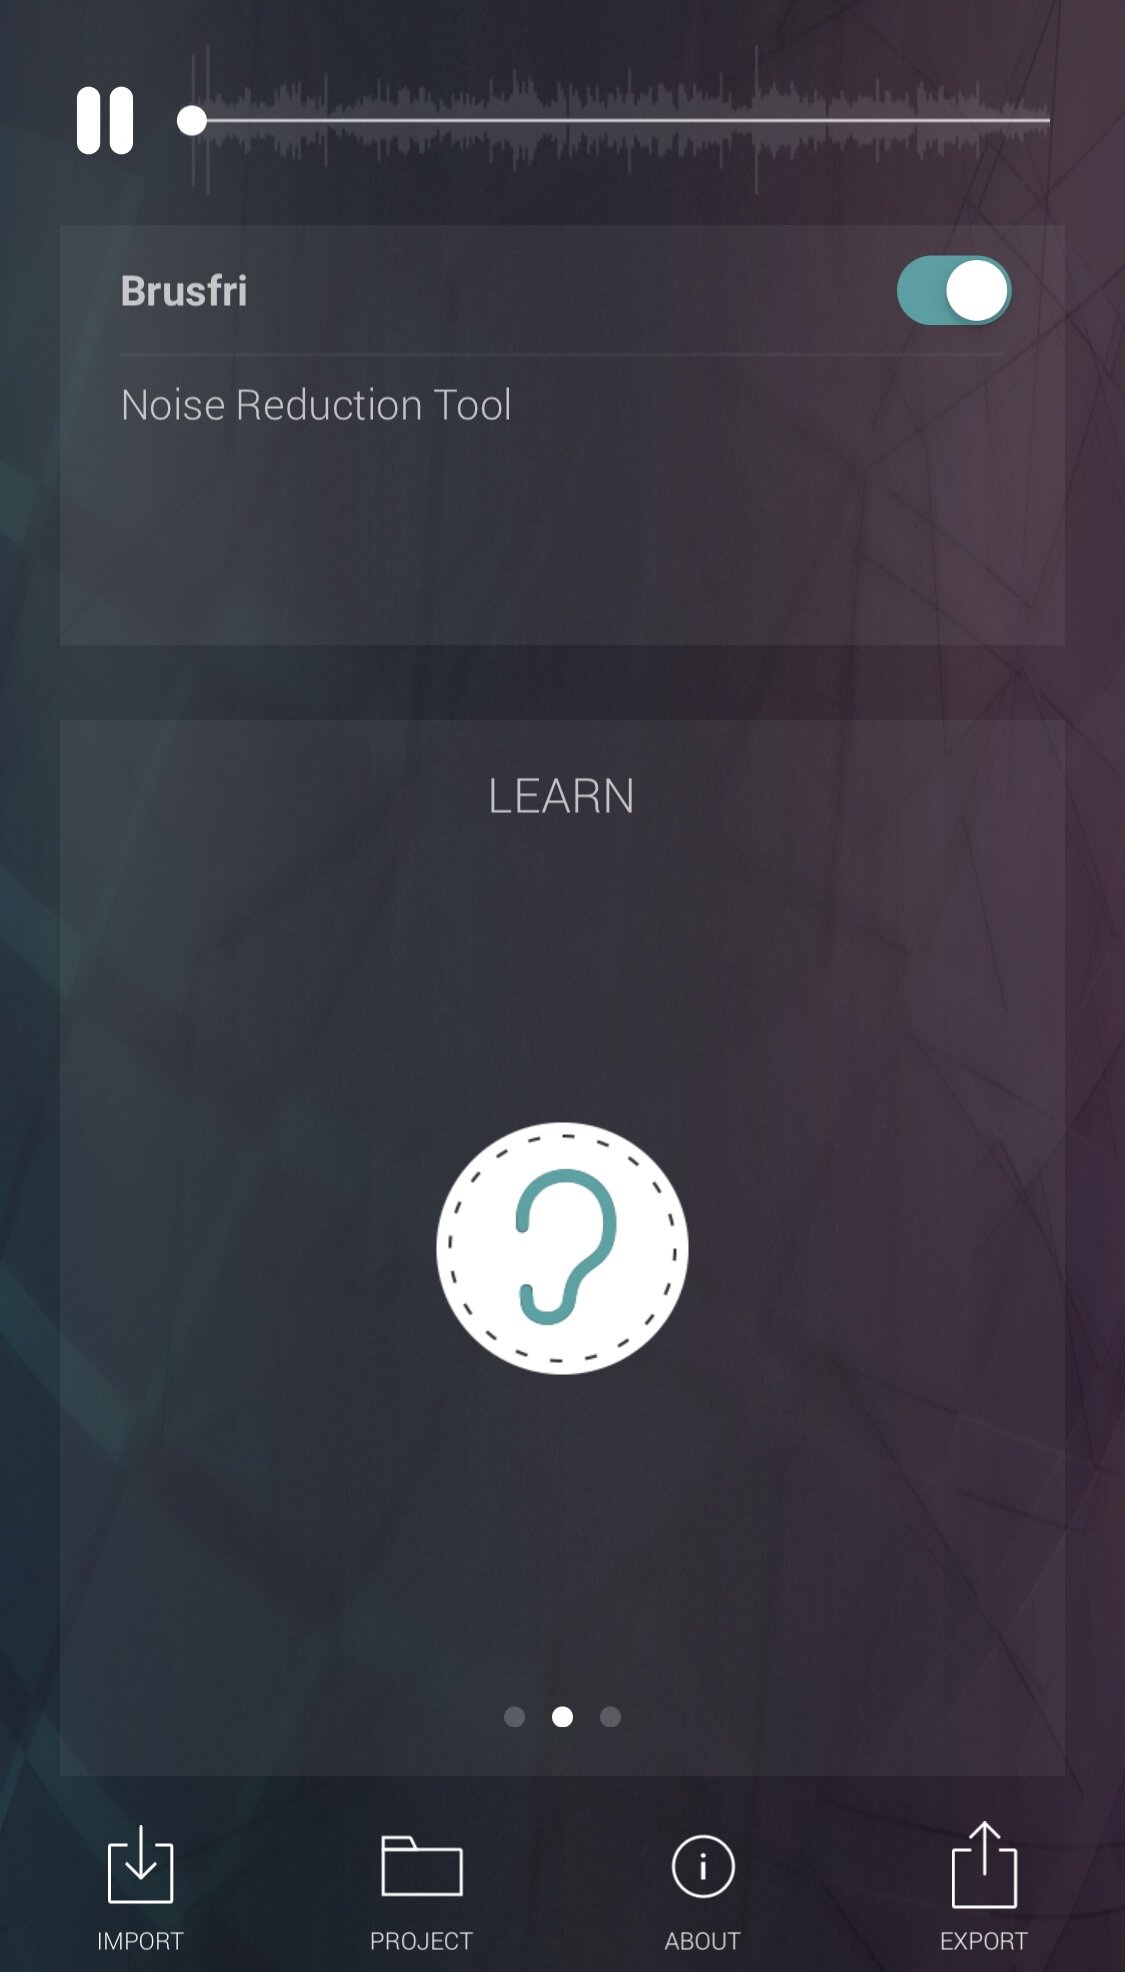
…Until I came across Brusfri, an app by Klevgrand that allegedly can denoise without degrading the original track. There’s 2 versions: $14.99 for iOS and $59.90 for macOS/Windows. To use it, you “select” the portion of the tract with noise and let the app do its magic. I bought the iOS version (which isn’t that cheap over here) that comes with a significant drawback: you can’t really select the range where the noise is. You have to listen to the track then press the learn button to have the app listen to only the part with the noise but not the speech. Once the app has learned the noise pattern, you would notice that the waveform would change and can be played back with noise reduction on or off. You can also do some fine tuning with the noise reduction.
While the track is playing, press and hold the listen “ear” button to have the app analyze the noise…
…Until you release the button
Now you may toggle to hear the track with the noise reduction present/absent…
…Or have it listen again if you think you got the noisy part of the track wrong (noise only with no voice/instruments playing)
A multitudes of options (swipe left or right) to fine tune the noise reduction; adjust by dragging the corresponding line
HPF: High pass filter
This was truly a lifesaver when it came to the humble recording via Voice Memos on an iPhone. From this:
…To this:
Unfortunately it could not greatly improve the inherently not so great voice recording on the beginning of the tract, even with further effects done afterwards.
Before:
And after:
These were the further edits to both tracks after removing the noise:
The first minute
The rest of the video
There was certainly a need for highlighting with this presentation, more so than the one preceding it. To save time, I used simple arrows and highlighting via masking to get the desired effects.
The big lesson here is to get the recordings right the first time, as repairing things in post can be either difficult (or expensive). When pro’s say that listening to bad audio is fatiguing to listen to, they are definitely correct and I can attest to that. Maybe in the future I might explain why as regards to the video, it has simply been mostly still pictures with barely any true video. All in all I probably spent at least 18 hours just to produce this (due to the troubles with the audio) and that’s not productive enough. Hopefully noise is no longer a big problem in the future.


